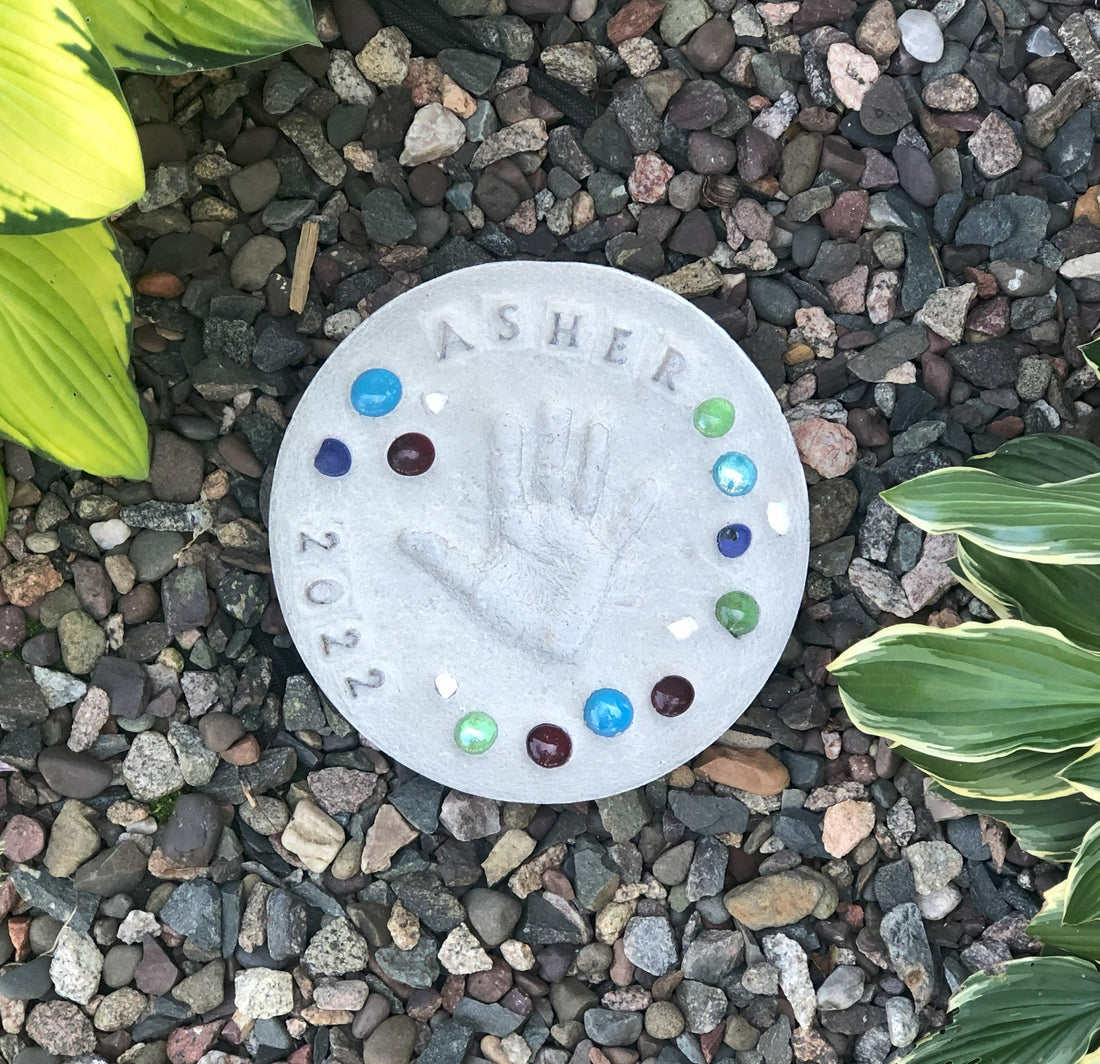
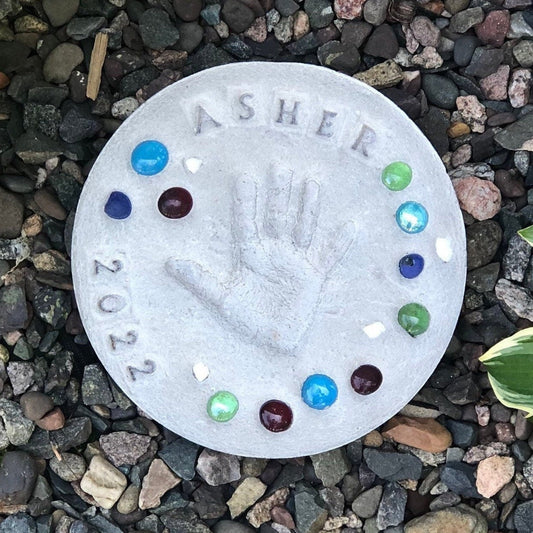
DIY Handprint Stepping Stone
It is fun and easy to make your own garden stepping stones at home. It is also a great way to preserve those cute little hands and feet! These make great gifts for grandparents, Mother's Day, or garden lovers!
We sell kits that include everything you need with detailed instructions making it easy to create your own stone! Find them in our store. If you want to gather everything yourself, here is what you will need:
The supplies you will need:
Bag of Cement- The cement we use in our kits is a custom mix that we hand mix. You can buy a bag of Quikrete at your local hardware store.
Mold/Form - We tried 10 inch plastic plant saucers and tin foil pie pans from the dollar store. We preferred the plastic plant saucers. If you are very careful when taking them off you can reuse them to make more stones!
Bag or Bucket to mix the concrete - We used 1 gallon Ziploc bags. If you are making multiple stones at once you can use a large bucket to make a big batch.
Decorations - This can be glass gems, mosaic tiles, rocks, shells, etc.
Stone Stamps or wooden skewer for writing - We use plastic alpha/numeric stone stamps. These are reusable so only one set is needed! We have them available in our shop.
Saran Wrap - If you have sensitive skin you may not want to have your littles directly touching the cement. You can place a piece of saran wrap over top when having them make their imprint. We just had the kids wash their hands and feet immediately after and didn't have any issues.
Putty Knife
Paper Towel
Plastic Table Cloth - If you need to work inside working on a disposable table cloth makes for easy cleanup and protects your surfaces. I recommend working outside if possible.
Sandpaper
Board - to set the mold on and help with moving it.
Water
- Add water to the dry cement mix. Mix until it resembles a very thick batter. We mixed this in a gallon Ziploc bag. If making multiple stones at once mixing in a large bucket works to make a bigger batch.
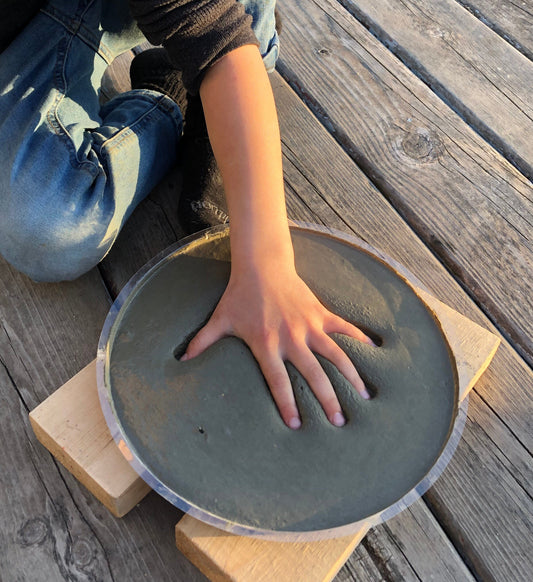
- Dump the mix into the mold. I recommend placing a board or something sturdy under the saucer to help shake and make it easier to move or pick up. We laid a plastic table cloth on the floor for this step to make it easier for the kids to make their footprints. Then we used the board to transfer the mold to the table for decorating.
- Gently jiggle and shake the mold to evenly spread the mix and work out any air bubbles. The board underneath makes it easier to shake the mold. We also used a putty knife to help smooth it out.
- Make your hand or footprint. Make sure to push down every little finger/toe. (For sensitive skin you can use a piece of saran wrap during this step to avoid touching the cement. We didn’t use saran wrap but washed hands and feet immediately after making the imprint.)
- Decorate! Decorate your stone with gems, tiles, rocks, etc. right away before it starts to dry and harden.
- If any water pools you can use a paper towel to gently absorb the excess.
- Let the stone sit for 24 hours to harden before removing the mold. If there are any rough edges you can use sandpaper to smooth it out. You will want to wait 48+ hours before walking on depending on the type of cement you buy. The bag will say on the back how long you should wait.


1 comment
The paper instruction that came with our kit got ruined, and we can’t find them posted on this website. How much water should we add to the dry concrete in a 14" mold?